Hi you all, over at
Counterfeit Kit Challenge blog, they have a twist for the 1st Challenge:
Challenge #1: Create a challenge for
US! Post it on your blog and create something based on your challenge
using your kit for this month.
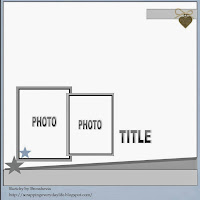
So this is what I choose for the 1st Challenge which I had found over at October Afternoon's website in the tutorials section:
Using a Chipboard Frame
Here is what I did with it:
Isn't this a cool way to use up a chipboard frame. I used a CTMH Irresistibles Make it count chipboard die cuts chipboard grid for mine, I cut it down to 10" for a background piece
I added washi tape to 3 sides, took the measurement of the individual windows and cut up vary pieces of papers for it
I also added tape to the backside for the cut pieces to be attached to the frame
I got the pieces where I wanted them and attached it to the frame. The sticker on the background paper was attached after deciding what I was doing with the frame. Added some foam tape to certain spaces that needed to keep the height of the frame.
I added a cluster of papers and washi tape to that top open spot to frame it off and give a nice little title for the layout. The arrow and heart is from the white bling sticker sheet of words.
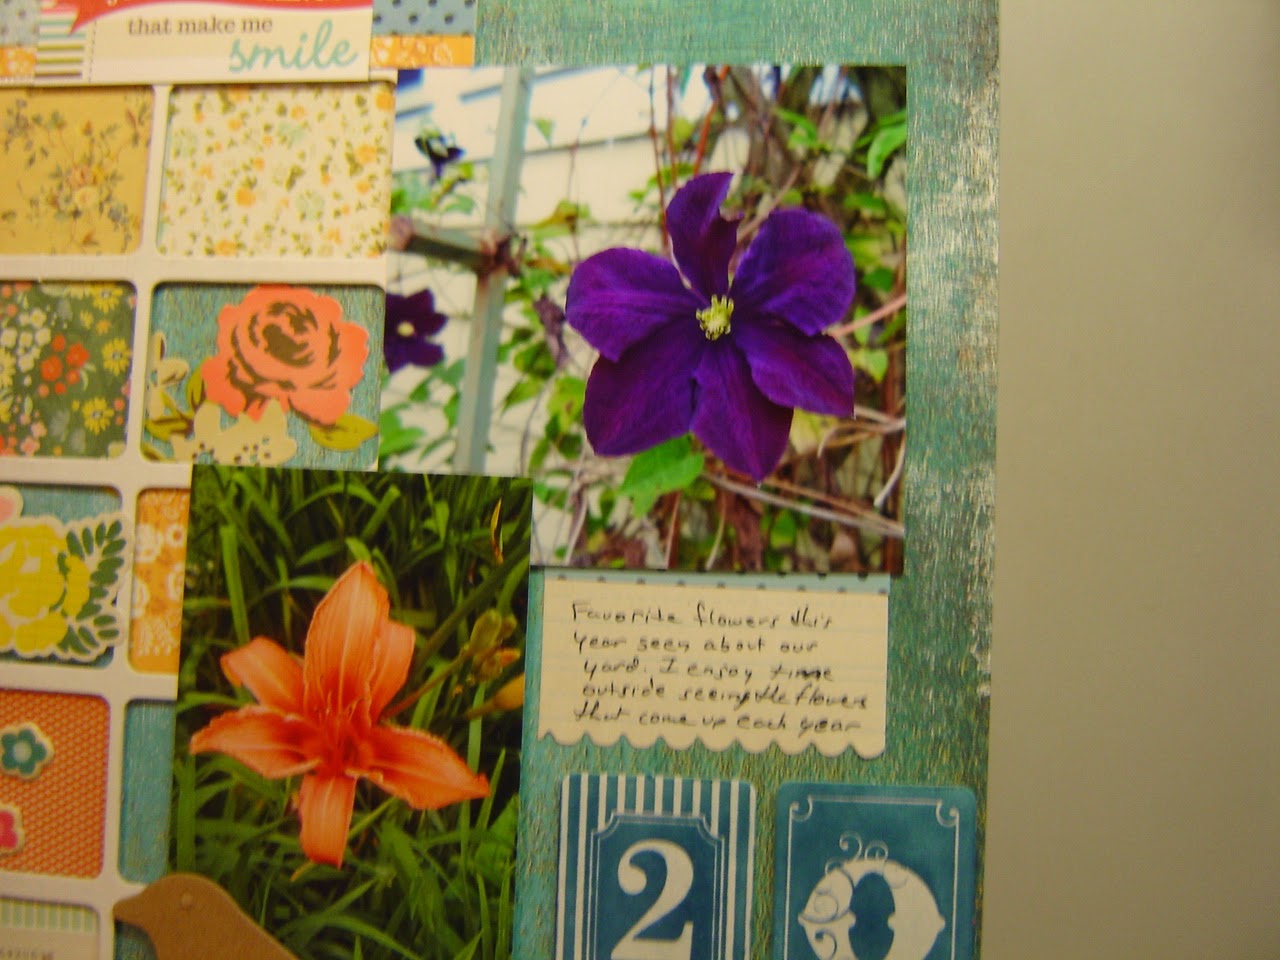
I decided to do flowers from 2013 as a 2nd though cause of my choices of small prints for the windows of the frame. So my 2 favorite flowers in 2013 were highlighted on the layout.
The 2013 are some of the chipboard tiles from the actual sheet. Now this stuff is pretty cool. It comes white and you rub ink on it and you get this resistant look.
Added a few chipboard birds
These 2 flowers are in our yard so I get to enjoy them each summer, one thing I do enjoy is spending time in our yard walking about and enjoying the peacefulness and the beauty of summer.
I was so glad to stumble across this tutorial and gave it a try this has to be one of my favorite layouts this year, just might have to frame this one and hang it in my craft-room. It's nice to do something different with your craft . I hope you give this challenge a try :)