Sunday, March 10, 2013

Project Life 2013: Title Page

Good Morning
I wanted to share with you what I did last night. I got my title page done for my 2013 project life album. It sure is an interesting process, the planning takes up 1/3 of the time, editing the pictures takes up a 1/3 of the time and then the creative physical process of the page with the last 1/3. But I think I can safely assume the weekly ones won't be so bad, if I start planning it the same week as it is happening.
I did alot of looking at other title pages on google to get a feel of what others are doing and that helped inspire me to this page.
The nameplate I chose to do, it explains what the album is about. The cast of characters for this album: The main characters:

Our Australian Cattle dogs-Blue Heelers of the breed

Supporting cast will be peppered through with our kids and our grand-kids, were just a couple of empty nesters enjoying life. Thanks for stopping by and checking out what I've been doing lately. I made it through a whole week on the blog a first for me and seeing this continuing now that I have understanding how I can prepare and be ready to post by the week. Off to get some more crafting done, I got a few unfinished projects I want to finish up today.
I hope you enjoy the view from my little corner of the world

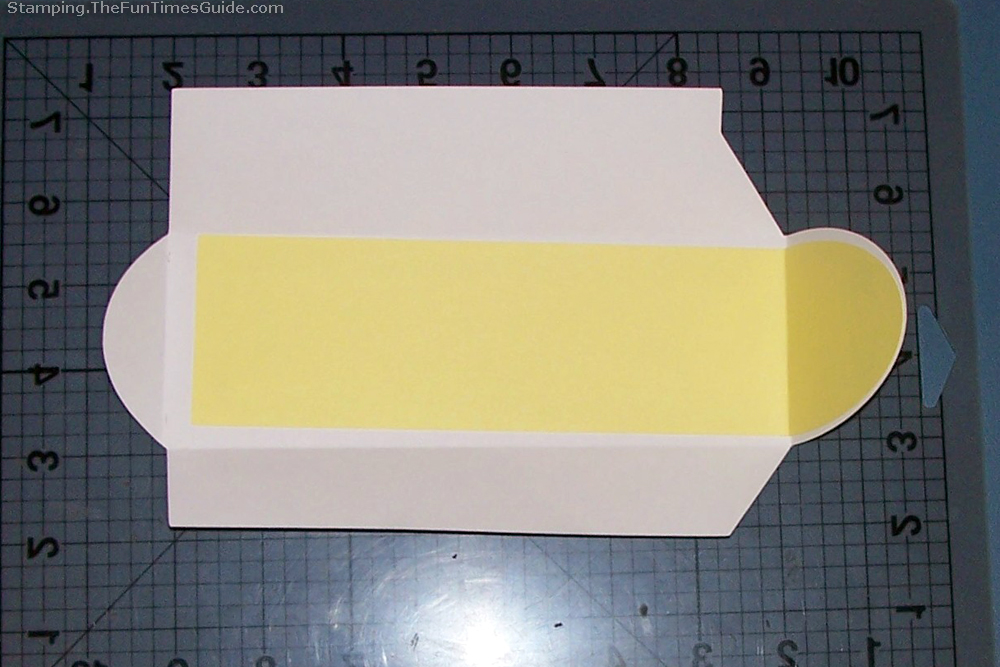
Things I used for this page: the page insert is from Stampin Up assortment pack, the main paper line is Simple Stories Documented line, Dave and I's photo mats came from the My Mind's Eye Lost and Found 6X6 pack, ribbon, letters and vellum quote from my stash.

Saturday, March 9, 2013

Diaper Pin Card


Hi you all, and welcome to my blog. Today I'm the designer over at Card A Day Blog for the final day of the baby theme. Ever in a hurry and need a card quickly, you know those times when you totally forgot about a function that your suppose to attend till it pops up on your calendar. Below is a card for that situation:

If you have a Cricut, come along and see how I made this adorable baby gift card

The trick with using the Wild Card cartridge when you want the matching envelope is to make the envelope first.
You load the paper you want to use for the envelope and choose “set paper size”.
I used light yellow paper in 12 X 12 size. Then, I choose the special “fit to page” option. This calculates and cuts the largest possible envelope for this size paper.
When you hit the “cut” button, watch the display closely to see the size. It will only show once, and it’s quick! In this case, it was 5″. This is now the size you must manually program for everything on this card.

The envelope has a cute little peek-a-boo diaper pin on the flap, and I am going to add a yellow liner that will show through when the flap is closed. I added my paper and selected the “liner” option at 5″. Sure enough, it fits right in and looks as cute as I had hoped.
 
Now, onto the card…

Make The Diaper Pin Shaped Baby Gift Card
Again choosing 5″, I cut the card out of yellow cardstock.
Once the card is folded, it’s obvious the top part (the actual pin part) is kind of flimsy and needs a backing. Fortunately, Cricut has thought of this and created the “blackout” feature — which means it will be the exact same size as the original object.
A liner, like I cut for the envelope, will be slightly smaller than the object — since it is designed to fit inside the object. So I used white cardstock to create a blackout copy of my card. I only needed the top section (to cover the diaper pin part), so I cut it in half. It fits perfectly and provides the stability the card needs.
The “liner” feature also has an option for detail on the pin closure, so I used purple patterned paper with with baby theme items on it. It fits right over the head of the pin. I used the Hannah Montana cartridge to cut B-A-B-Y in the base font at 1″.

For the inside of the card, I used the “Baby Blessings” phrase from Wild Card on page 76. Since this phrase is not directly connected to the diaper pin card, I have to choose the size I want. 5″ won’t necessarily work. So I selected “real dial size” and then 2″. And my phrase is exactly 2″!

This is a really cute card for a baby gift, and if it is for after the baby is born you could personalize it with the Baby's name.
Thanks for stopping by and seeing the view from my little corner of the world.....

Friday, March 8, 2013

Project Life 2013: The beginning

Hi everyone, thanks for stopping by today.
One of my 2013 goals was to do Project life, don't know what that is you can find out here. Well over the weekend I finally accomplished the start of my project life 2013. I decided on the paper line that I want to start with, trying to use up what I have at home not buying any paper for it.
I decided to work with Simple Stories Documented line I purchased last year and with all the journal cards that come with it will be a good start.
I will be using:

and Design C for those weeks with lots of pics. Also, got a variety pack of pages from Stampin Up that I will be using too. I will be using scraps from my stash too, one good thing about project life is that you can use up all those extra small scraps you might have laying around a win-win for the craft room.
So I decided my week will be from Monday to Sunday (easier for me to keep the weekend together), working best for me. I figured out how I'm doing the title page and plan to work on that real soon and make a push over the next few weekends to get caught up to date on it. Fun ahead!

Hey you all have a fabulous day and thanks for stopping by my little corner of the world....


Thursday, March 7, 2013

Baby Blue

Good Morning everyone, I'm the designer today over at Card A Day Blog, the theme this week is baby. The card I have today is in blue, but can be made in pink too.
Sorry for the bad picture the card base and the sentiment cut are both in white cardstock. The embossing folder for this card is Baby Bear folder from Darice. The sentiment was cut die cut with Spellbinders Ribbon Banners set and edges were inked with light blue ink, sentiment from unknown stamp I got at a yard sale.
At closer look of the card you can see that every few embossed dots were touched up with light blue stickles along with the heart on the foot and the nose of the bear. The embossed image was fussy cut around the dotted border and the addition of a purchased crochet flower with jewel finishes off the card.
This is really easy card to do most of the work is done with the embossing folder. Thanks for stopping by today and I wish you all a fabulous day!
Thanks for stopping by and seeing it from my little corner of the world.....

Wednesday, March 6, 2013

Smash your Stash Challenge #2

Hi all, now today's post makes the Smash your Stash caught up and you'll see it just once a week. This weeks challenge was:  
Challenge 2: ribbon, twine, washi tape .. Use these to make a border around your page.. Then a journal tag, and make the page about what you'd eat as your last supper! Bonus points for recipe incorporated into the page!
 
I did this page in my Blue Retro Smash book. I think I followed the challenge pretty good including the bonus points for the recipe.This is my favorite Sweet and Sour Chicken recipe, it's a Bisquick recipe. My choice for a last meal though would be the local Chinese buffet so I can have a little bit of everything. 
Closer looks of the page: above and below
It's been an absolute blast to be back in my smash books. I have my own facebook group page named after my blog, a place where my smashy friends can hang out. I started a weekly challenge too at the beginning of the year with a year end prize giveaway, now I can't win my own prize but I can do the pages along with everyone else that is doing the challenges, so you'll see those pages real soon on the blog too. This one is one of them: week #9 challenge: One of your favorite photos.
Hey you all have the best day and thanks for stopping by my little corner of the world.


Tuesday, March 5, 2013

Smash Your Stash Challenge

Hi everyone,
Wow back to back posts, is this a joke! Absolutely not, I decided over this past weekend to really work on my goals and I've seen others do a post each day so I'm gonna give this a try. With March being National Craft Month, I would like to accomplish something crafty each day this month even if it's just prep work for a page or card, then I'm doing something crafty.
Another cool Smash group started on Facebook recently called Smash Your Stash, so far it's been a great group. So for the first challenge we had to use the oldest piece of pattern scrap paper that we have and some lettering stickers:

This is my fav picture of my parents. The paper came from my 1st paper pack I got, the flower pieces came from my very first tote scrapbook kit that I received as a gift from the ladies that introduced me to scrapbooking. The picture is late 1958 early 1959. I used the Brown nostalgia book for this page. Got the book in a swap and just fell in love with it and it will be a cool one for all my old pics. 
Hey you all have a fantastic day and thanks for stopping by my small corner of this big world.

Monday, March 4, 2013

Easter Card-CC Challenge


Hi all, I got an Easter card that I made for the Creative Cutting Challenge


The card is made using the Easter Headings set from Creative Pointe

 Easter Headings


 Isn't this a sweet set, you'll have all your Easter cards and scrapbook layouts covered with this set. 


I went with different variances of purple for the card. The Happy part of the sentiment was cut from a font out of the SCAL program. I punched the punched edge with MS swirly punch and added a strip of purple paper behind it to bring out the punching. Added the rich razzleberry grosgrain ribbon from SU and finished it off with lavender liquid pearls. 


Hope you enjoyed this and if you want more inspiration for Easter cards and join in on the challenge you can find them here at Creative Cutting Challenge


 You all have a good day, and drop back tomorrow and see what I've been up too.....