Showing posts with label 2013 Goals. Show all posts

Saturday, February 1, 2014

The Gifts-Layout

Hi and glad that your here with me today, were getting a bit warmer here the January thaw we call it here in PA, coming a bit late now that we are in February, just glad to get away from those negative temps for a while. The finale of the birthday party is when Dad and Son opened son's birthday gifts.

Pieces for this layout came from the November Counterfeit Challenge Kit besides some cardstock from my stash.
On the left page I used 2-black and white die cut labels from the Life's Little Occasions pack and the together came from K&Company EcoModern Die-cut cardstock pack
Added a little velum quote to the top corner of the mat. the mat was Accent Essentials at fit to page
the presents came from a cutout sheet: Oscrap Sampler. I also used glossy accents to embelish the presents a bit
The 2nd page of the layout holds most of the pics of the toys :) I definitely like to include as many pictures in a layout that I can. I have some saved back for a personal layout for us to hold on to, cause we found out through the pictures that we scored major grandparent points with the wooden train that we gave Zachary :)
 The die cuts: B is for Boy: Train @ 3" and the Dump truck @ 2.5" and from Boys will be Boys the phrase Toys @ 2"
The corner sticker came from Pebbles share & tell Party Time Boy 4 X 6 creative pad the 2 orange border pieces came fromdoodlebug Paper Frills-tangerine pack
This bottom section shows the frame and birthday gift cut out from Oscrap Sampler with glossy accents added to the gift and the scattered star stickers are from the 4 X 6 pad mentioned above
2 more close up shots of the layout
This was a fun lay out to put together and I loved the additional die cuts representing the toys but out all the photos of this day even the one here with Zach playing with the train we got him. Is the photo on the 1st page where Son and Father are looking directly at each other, Yep I think Brad will be Zach's favorite toy.

  Thanks for stopping by today and don't forget to join in for the blog candy this week:
Oh yes their is some blog candy to talk about :)
 http://www.centsibleinseattle.net/cms/wp-content/uploads/2011/06/random-envelope.jpg
My intentions are to blog each day this week so you'll have numerous chances to get in for the candy. You can comment each day this week which runs from today till Sunday Feb 2 (Superbowl weekend :) ) midnight eastern time. 2 conditions you have to leave a comment and you have to be a follower of my blog. The winner will be announced Thursday Feb 6th. That's it!
 Have a Fantabulous day!

Monday, September 23, 2013

For the Girls-Creative Cutting Challenge

Hi and welcome to my blog, this week's Creative Cutting Challenge theme is For the Girls and I don't know what better way to a girl's heart is than with roses. So I made a Birthday card for one of the girls in our family (I know there is a birthday coming up soon for the DD and the DGD)
I put this card together with a bit of help from Creative Pointe’s Rolled Roses set.
 Rolled Roses - Click Image to Close
 With a little glitter among the petals, just makes the roses a bit more special for a really sweet birthday card. The roses cut so well that they are a breeze to put together. 

 This is what the rose looks like when you cut it and pull it off the cutting mat.
 You want to start from the inside and just roll it up
 Keep rolling
 When your done rolling it should look like this

 After you rolled it then you put the bottom under the roll and start to spread it till you get the flower looking like the way that you want it to look.
Then you add glue to the bottom and with in the underside of the flower roll.
As it sits it will relax a bit and open up a bit more.

I used K&Company Que Sera Sera Designer paper for the roses and the card base, I was thinking that the flowers may not be as stiff with a lighter weight paper and will have to try that sometime to see if it makes any difference. The pick cardstock was sitting on my craft table and thought is was perfect for this as a second background and to hold the sentiment. I used Inkadinkado circle and dots clear stamp borders with their Glam Gold ink for a border under the Happy Birthday from CTMH: For Every Occasions stamp and momento black ink. The leaves and butterfly came from the K&Company ECO-Modern die cuts pack. Used Studio G glitter glue on the petals to give it some bling. This was a fun card to do and not to hard to put together once the roses are done, the rolled roses was a new technique for me. I used the tutorial from Above Rubies Studio on how to roll the roses so it was very easy after that.
Thanks for stopping by today and seeing what I'm doing in my little corner of the world....

Thursday, May 2, 2013

Page a Day in May Challenge-Day 1

I created this scrapbook page
from this sketch
Document Life Workshop Weekly Sketch 1
This is the sketch that Kathy posted on the facebook group ScrappersChallenge for the first day's challenge. My photos were quite abit smaller than as for the sketch so I moved it around abit but it's based on the same concept.

Working on one of my 2013 personal goals-Zachary's 1st year album, here's another page completed. The pictures are of his first top teeth, I have either one or need to create one for his very first tooth and will post at another time. This May month challenge may get me through completing this album.
Personalized journaling-changed a word after taking the photo to his from what I wrote of my (no more journaling before bedtime, lol).
See you tomorrow with another page....

What have you created today

Monday, April 22, 2013

A New Teen Birthday

Hi you all and welcome to my blog it's choice week over at Card A Day Blog! Today I'm the designer over there and I think this is a first for CADB and I think it's a wonderful idea. April tends to be a birthday month in our family so today I brought you a special birthday card I made for my grand-daughter see she turned 13 this year.
This is my first ever side step card. I come across a similar card on another blog (Sorry I didn't mark down the blog) and thought this was the perfect card for Asticia! So I can't take credit for the card, but it was a good one to lift. So I went out checking youtube to find out how to make a step-card, I came across 2 of them with really good tutorials. So I made a dummy card to try out the technique:

So the testout was from one of the tutorials (<-----) and the one I did for the actual card is ------>
The 12 was cut from the Mickey Font cartridge @1.75". Forever Young was used for the words @ 2" and the girl (model 20 on pg 43) @ 3.5"
The bag was never used, I'll have to figure out what to do with that another time. This was a fun card to do and I can see more in my future, just need to figure out when.

Supplies:
Cardstock: SU for the cardbase-Celery, the purples for the numbers came from my stash
Patterned Paper:  the Green cardstock for the letters is from DCWV-the tie-dyed stack, brown shadow dotted paper, the pink paper the green dotted paper and the happy day paper canme from the Lime Twist-Life of the Party pack
Inks: Memento Black and Brilliance Cosmic Copper was used for the sentiments
Stamps: SU- You're Amazing and CTMH-Card Chatter-Birthday
Tools:  Cricut Expression
(New technique-2013 goal)

Thanks for stopping by and seeing the view from my little corner of the world...


Friday, April 12, 2013

Project Life Celebratory Blog Hop


 Good Morning! So Exciting this morning, my first Project Life blog hop.  Thanks so much to Margie for hosting and organizing this!  You'll find a list of all the participants at the bottom of this post. Please be sure to check out their blogs as well! If you coming from Michelle B. blog then your at the right spot, if your just now getting started then you want to head over to Margie's and start at the beginning.

We will be celebrating personal Project Life milestones, Margie is celebrating getting through 25% of 2013! I'm celebrating getting through my first week, yep that's right, my first week. I'm very new to Project Life and for anyone one just starting out it can be fun, exciting and a bit overwhelming, but it's a wonderful feeling to document life. For all the newbies out there join in on the fun of Project Life, not sure how to do it, then check out the blogs in the how and you'll get a huge start in finding out what it is about no matter when you first week is.

Here is my first week:
I've decided to do my weeks Monday-Sunday because in the summer we do so much on the weekends it's easier for me to keep it together.
Left side
Right side
A few up close shots. Since this was my first week and I haven't gotten any of the Becky Higgens core kits, I used a paper pad I got a couple years ago from Walmart. One nice thing about using a paper pad is all the paper was made to go with the collection so it all matches. I used my cricut for the week card, smash date stamp, rub-ons, Martha Stewart tag, and a sticker pack I found. Over the next few weeks you'll see many PL layouts while I get caught up to date. For being part of today with me, I have some blog candy to give away-A Smash Pad- These pads are great for journaling in PL too with lots of great prompts. All you need to do is become a follower and leave a comment and you got a chance to win (ends Sunday night at midnight). The winner will be called on Tuesday April 16 with Week 2 PL layout.
Thanks for stopping by and seeing the view from my little corner of the world.

 Make sure to check back over the next few weeks while I'm catching up to that 25% mark.
Until then, please continue on to Nicole's blog!  She has more Project Life for you!

If you get lost along the way, here is the full list of Project Life Celebratory Blog Hop Participants:

Margie      http://xnomads.typepad.com
Maya        http://mayadahan.blogspot.com
Michelle    http://www.table-for-five.com/
Kristy      http://kmstewart.blogspot.com
Michelle R  http://MichelleRoger.wordpress.com
Emily        http://mrscraftyadams.blogspot.com
Barbara    www.maynardpl.blogspot.co.uk
Katina        www.lovinglifeslittleblessings.com
Michelle B   www.michellebostinelos.com/blog
Tina         http://tinasscrapcorner.blogspot.com/
Nicole       http://nicolemann.blogspot.ca
Marisol      www.mariclaudibenitez.blogspot.com
Brooke       www.graceandlight.typepad.com
Scruptious   http://eversoscrumptiously.wordpress.com/
Rechelle     http://Levanfamily365.blogspot.com
Kelli        http://whimsikel.blogspot.com
Sonia        http://www.craftshandson.blogspot.com
Shay         http://sbookinshay29.blogspot.com
Rebekah   http://istampscrapcraft.wordpress.com/

Sunday, March 10, 2013

Project Life 2013: Title Page

Good Morning
I wanted to share with you what I did last night. I got my title page done for my 2013 project life album. It sure is an interesting process, the planning takes up 1/3 of the time, editing the pictures takes up a 1/3 of the time and then the creative physical process of the page with the last 1/3. But I think I can safely assume the weekly ones won't be so bad, if I start planning it the same week as it is happening.
I did alot of looking at other title pages on google to get a feel of what others are doing and that helped inspire me to this page.
The nameplate I chose to do, it explains what the album is about. The cast of characters for this album: The main characters:

Our Australian Cattle dogs-Blue Heelers of the breed

Supporting cast will be peppered through with our kids and our grand-kids, were just a couple of empty nesters enjoying life. Thanks for stopping by and checking out what I've been doing lately. I made it through a whole week on the blog a first for me and seeing this continuing now that I have understanding how I can prepare and be ready to post by the week. Off to get some more crafting done, I got a few unfinished projects I want to finish up today.
I hope you enjoy the view from my little corner of the world

Things I used for this page: the page insert is from Stampin Up assortment pack, the main paper line is Simple Stories Documented line, Dave and I's photo mats came from the My Mind's Eye Lost and Found 6X6 pack, ribbon, letters and vellum quote from my stash.

Friday, March 8, 2013

Project Life 2013: The beginning

Hi everyone, thanks for stopping by today.
One of my 2013 goals was to do Project life, don't know what that is you can find out here. Well over the weekend I finally accomplished the start of my project life 2013. I decided on the paper line that I want to start with, trying to use up what I have at home not buying any paper for it.
I decided to work with Simple Stories Documented line I purchased last year and with all the journal cards that come with it will be a good start.
I will be using:

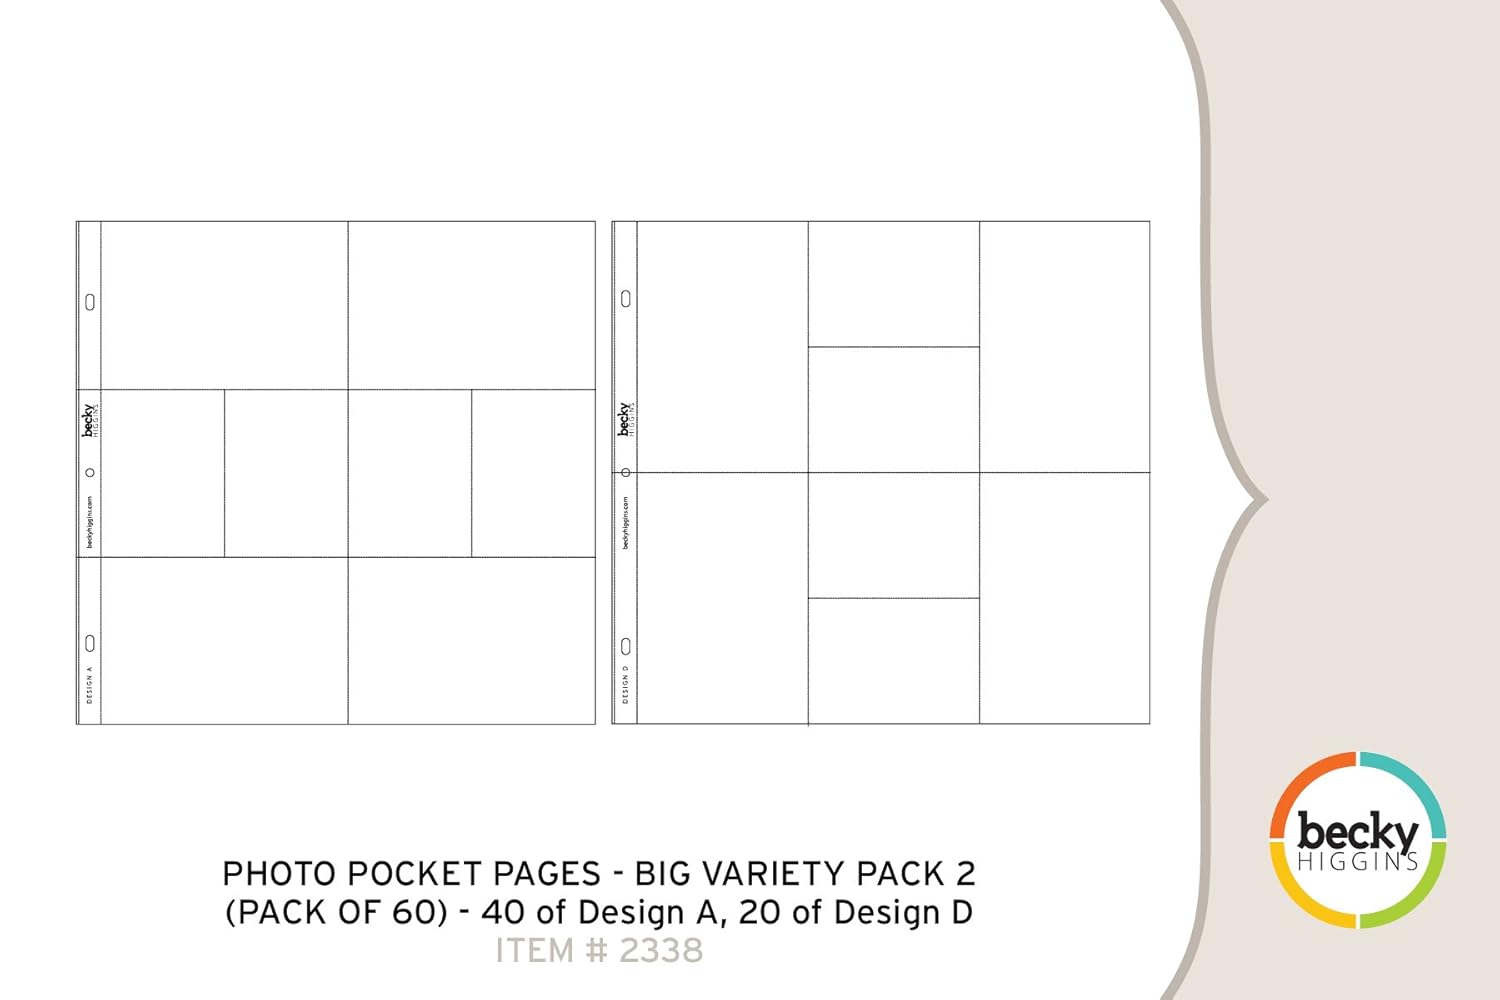
and Design C for those weeks with lots of pics. Also, got a variety pack of pages from Stampin Up that I will be using too. I will be using scraps from my stash too, one good thing about project life is that you can use up all those extra small scraps you might have laying around a win-win for the craft room.
So I decided my week will be from Monday to Sunday (easier for me to keep the weekend together), working best for me. I figured out how I'm doing the title page and plan to work on that real soon and make a push over the next few weekends to get caught up to date on it. Fun ahead!

Hey you all have a fabulous day and thanks for stopping by my little corner of the world....


Monday, January 14, 2013

A Quick Thank You

Hi and welcome to my blog, I'm the designer today over at Card A Day Blog and the theme this week is Thank You.
This is a quick way to thank someone and a personal thank you too. This is a A2 size card. White card base, dark green mat and a lighter green pattern mat. Used a white grosgrain ribbon for the center border. In the same dark green cut out the scallop oval from Elegant Edges. On white spotted paper I used the Cri-Kuts pens to write the Thank You and the oval was cut out of George and Basic Shapes. Now this is where having a Gypsy come in handy cause you can cut the oval and then go back and do the writing exactly where you want it. So much easier that trying to line it up for center point position. Another new technique for me using the Cri-Kuts pens. If you want some quick cards with some great backgrounds Elegant Edges is a great cartridge to have in your mix.

Thank You for stopping by today in my little corner of the world.

Monday, January 7, 2013

CC Challenge: Valentine not a card

Hi you all and welcome to my blog. It's another Creative Cutting Challenge :Valentine not a card. This is what I came up with:
While I was perusing the internet to decide what to do for this project I came across the blog Images by Heather M and found a pillow box she filled with candy and the light bulb went off! this project went together relatively easy after cutting out the first box and seeing how the file cut. Really need to do test cuts before doing the real cuts, lol the learning experience.
Heather offered a free svg for the pillow box. I took that file and enlarged it a bit and then cut it out well this is what I got:
As you can see in the picture in the lower left corner this is how the file cut out. Well I knew that wasn't right, so I ungrouped the file, deleted the center part and cut out the outside of the file to get the full box cut. Without moving the mat at all, I undid what I just did and deleted the outside, turned the blade around in the casing so I can score (need to invest in a scoring blade now I think) I did this at blade depth at 6 and hit go, woohoo it went and scored the lines I needed! Love learning new things! I had the pressure at 3 and I would suggest doing it higher for the scoring. So in the upper right is what the box turned out like. I decorated the box with files from The Creative Pointe Fancy Hearts file

Fancy Hearts 
I used the border file to decorate the box, added so Elmers glitter glue to the hearts to give some bling, and tied it up with some SU twill. This was a fun project and I'm glad to try something new. You may want to give it a try too, we welcome you to join in with the challenge at Creative Cutting Challenge.
Thanks for stopping by my little corner of the world......


Wednesday, January 2, 2013

Happy New Year-2013 & Marion Smith Challenge

http://t2.ftcdn.net/jpg/00/44/88/43/400_F_44884397_GfdGZeufFMks9GbEdyWyxsQZSJgDOcxV.jpg

Happy New Year everyone!
New Year brings new reflections in my life. As I look upon my personal goals for 2012 I found I achieve some of them, that was trying new techniques and I did get some layouts done for my albums. I don't know if it is best to make resolutions if I'm not good at keeping them, but I should have a few goals to try to achieve.

2013 Personal Goals
  • Will be starting a fitness smashbook and working on my fitness for the year
  • To learn more new techniques and folds in my cardmaking
  • To work on 5-6 albums/smashbooks this year
  • Heritage
  • MGCA
  • Zachary's 1st year album
  • Cruise 
  • Chronilogical
  • Chritmas
  • Project Life
  • Closer walk with God and Jesus. To get to know him better-to be in the word each day
  • to be on the blog more often
  • to spend less time on Facebook

I got a couple of new journeys as well as some old ones with my goals and a couple are just ever going. This year I strive to do better in all I do! Looking forward to adding more of my finished projects on the blog. I'm involved in alot of crafty things things this year and look forward to sharing it with you.
Thanks for stopping by my little corner of the world........

Happy New Year 

 Late update for post: 8:00 PM

Marion Smith of A Piece of Craft dot com 2013 challenge was posted today:
You can find out more about the challenge on this video spot. So the challenge is 31 days, 31 videos, 31 Jounal pages or projects. My plan is the journal pages I enjoyed that last year and looking forward to getting it done better than I did last year (more on time). So with all the crafty projects this month already on tap for the blog you will see this mentioned to daily maybe but definitely weekly.
Check out her video and join in for the fun.